Sarah at Confessions of a Fabric Addict is hosting
12 Days of Christmas in July.
She has a Quilt Along on her blog during this time.
I'm so excited to be participating again, for the third year.
12 Days of Christmas in July.
She has a Quilt Along on her blog during this time.
I'm so excited to be participating again, for the third year.
It's fun to be able to share in all the creativity and remember there are fun things to do when making things for Christmas.
My 2017 post is here.
My 2018 post is here.
Here is the 2019 schedule and the links to the other participating blogs.
It will be so much fun, I hope you join us.
My 2017 post is here.
My 2018 post is here.
Here is the 2019 schedule and the links to the other participating blogs.
It will be so much fun, I hope you join us.
Sunday,
July 14th
Monday, July 15th
Tuesday, July 16th
Wednesday, July 17th
Thursday, July 18th
Friday, July 19th
Saturday, July 20th
Sunday, July 21st
Monday, July 22nd
Tuesday, July 23rd
Wednesday, July 24th
Thursday, July 25th
This year I'm going to share my table runners I did for my 45th High School Reunion.
They can be made out of any fabric you wish, so would be appropriate for any season.
They can be made out of any fabric you wish, so would be appropriate for any season.
I'll also show you how I make T-shirt pillows with a zipper.
I know, you don't like to do zippers, but this is fairly easy to do.
You don't even need to use T-shirts if you don't want to.
You don't even need to use T-shirts if you don't want to.
I made these for DD's best friends for Christmas last year.
I took some photos and printed them and made the pillows.


I love this cherry blossom fabric.
It went so well with the photos.
I decided the size of the pillow form I'd be using and made the border to fit that size.
I always keep the pillow the same size as the form when working with it so it is fully stuffed.
If you like them to be a bit looser, then add an inch all the way around to the size you are working with.


This one I framed in two colors and made the front and back have the brown in it to coordinate.
Since it is front and back, you can't do the pocket pillows.
I need to have two done from four T-shirts that DD loves.
The design is big, so that makes it hard to put into a T-shirt quilt.
Making a pillow and adding a zipper at the bottom of the shirt makes an easy way to get the desired effect.
So, on to the Table Runner tutorial
I mad 20 of these for the centerpieces for my reunion.
Table runner tutorial


 These were used for
decorations at my 45th high school reunion.
These were used for
decorations at my 45th high school reunion.
Zippered T-shirt Pillow tutorial


 Then cut up both sides of the shirt.
I use the seams as a guide, or if there aren’t any seams, I will make sure the shirt is flat and cut on the fold.

 Next cut across shoulders


Follow the instructions on the stabilizer and fuse it to the wrong side of the cut shirts.
The little bumps on the stabilizer go towards the shirt.


If you prefer a pillow that looks less stuffed, add one (1) inch around and cut that size out of both T-shirts you picked.


Trim like you did before to have the T-shirt cut to the right size.

 This one happens to be 18" square and will work for an 18" pillow form.
You should have two shirts that are the size you are working with.

Place one of your prepared pieces face up.
 Have your zipper match or contrast as you desire.


Pin or use wonder clips to keep in place.

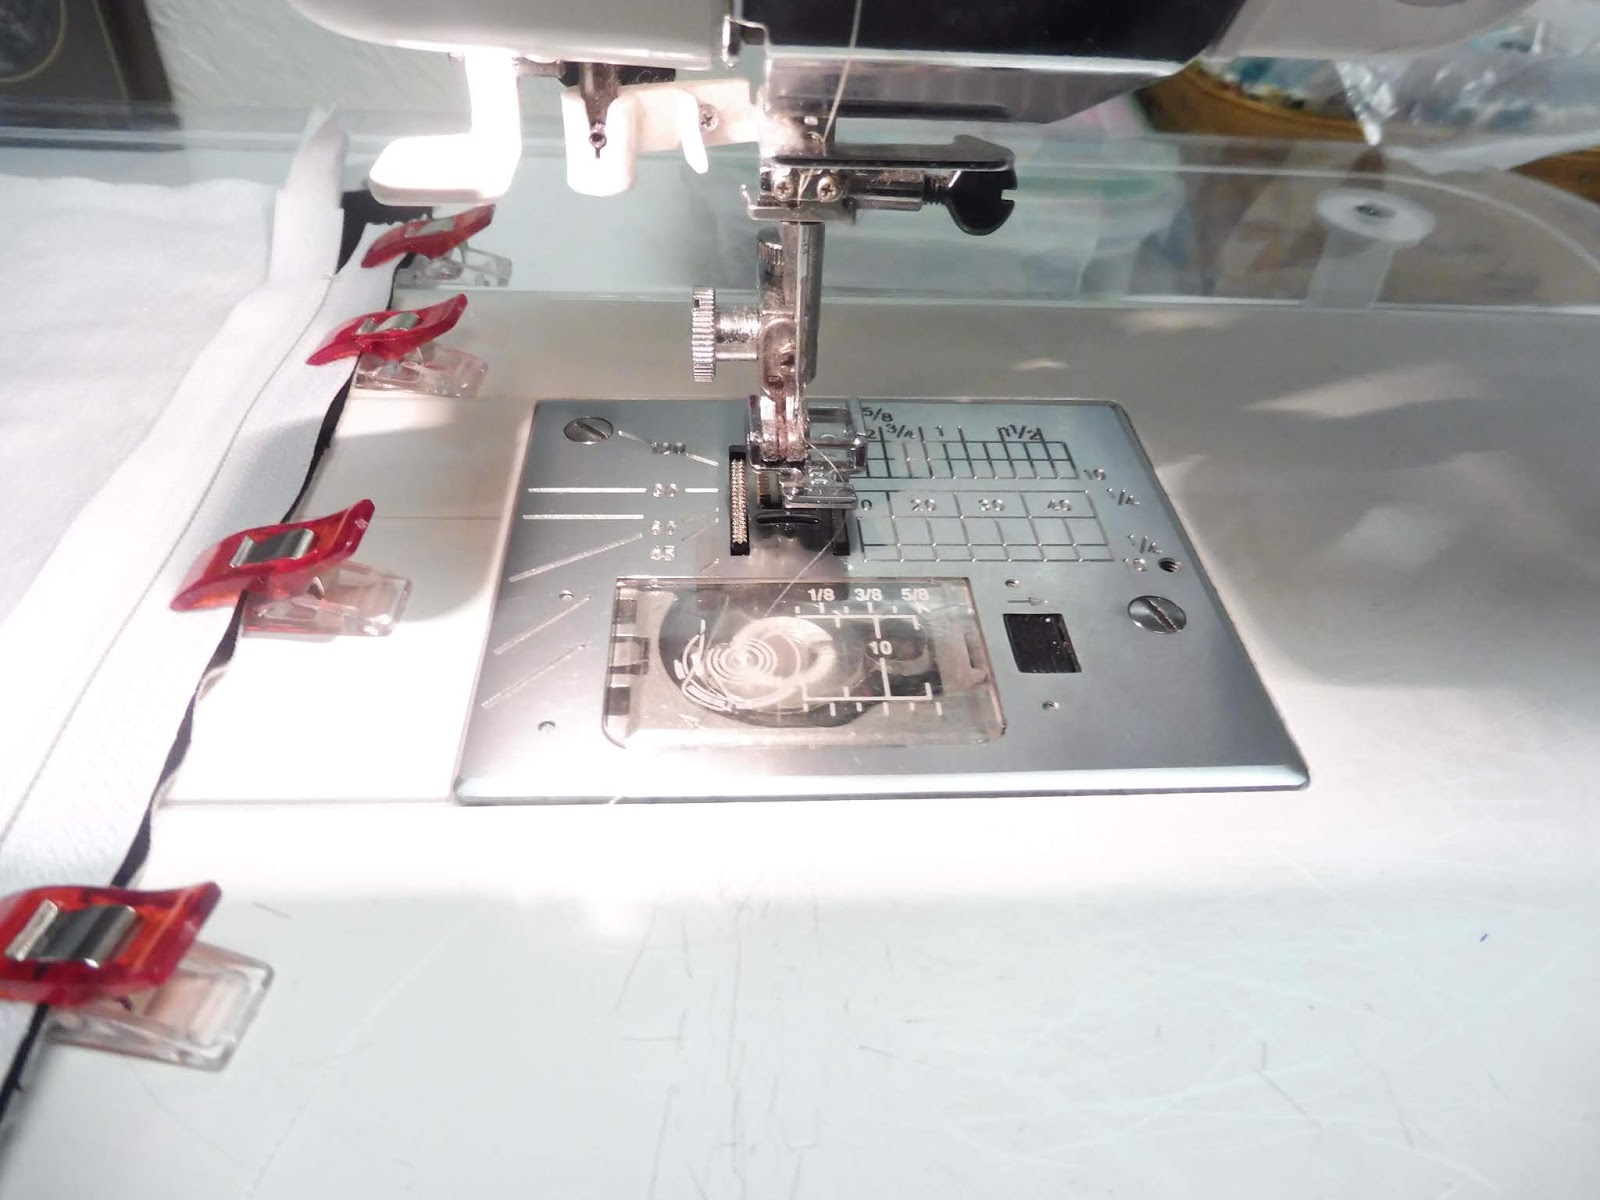
Use your zipper foot and sew across the top through all the layers.


You will need to zip and unzip around the presser foot as you sew the zipper in.
*Note, these photos show sewing off the shirt, but you really need to stop at the edges of the zipper stops.


You will do the same thing with the second shirt, making sure to align them with the front.


Use your zipper foot and sew across the top through all the layers.


Change thread to match the shirt you are top stitching.

 Top stitch the second side of the shirt.

 Zip and unzip as needed.
Move zipper foot


Sew the remainder of the seam on both sides.


Make sure the zipper is open to allow for turning.

Sew ¼ inch around the entire pillow.

Turn right sides out.


Your pillow is complete.


Insert your pillow form.


Enter by filling out the form and making sure to click on the blue submit button.
So, on to the Table Runner tutorial
I mad 20 of these for the centerpieces for my reunion.
Table runner tutorial
If you are making a
two color table runner, this is the fabric requirements.
Fabric A
(red)
|
Cut two (2) 2 ½” x 9 ½”
Cut two (2) 5” x 9 ½”
Cut two (2) 2 ½” x 4 ½”
|
Fabric B
(gray)
|
Cut two (2) 2” x 9 ½”
Cut two (2) 12 ½” x 9 ½”
|
For Embroidery on Fabric B
(gray)
|
Embroider on the size of hoop that will let you center your
embroidery within 9 ½”
You will need two (2) of these for each table runner.
|
You can use scraps to
make this as colorful as you wish.
Play around with it
and make it your own.

After you have
embroidered your design, center the design and trim to 9 ½” wide and 6 ½”
height.
Next will be the
arrangement of the fabric.
I like to set it up
so I can make sure the words are facing the correct direction.

Sorry, I can't get the photo to turn the way I want it to.
As you can see here,
the finished table runner is on the far right (top).
The ones on the far
left (bottom) are folded in half after being sewn.
 |
Arrange the fabric in the following
order
2 ½” Fabric A (red)
6 ½” Fabric B embroidery (Make sure it
is facing away from the center)
5” Fabric A (red)
2” Fabric B (gray)
4 ½” Fabric A (red)
12 ½” Fabric B (gray)
4 ½” Fabric A (red)
2” Fabric B (gray)
5” Fabric A (red)
6 ½” Fabric B embroidery (Make sure it
is facing away from the center)
2 ½” Fabric A (red)
|
Sew them together on the 9 ½” side in
the order shown.
You have finished
your top
Now you need batting
and backing

Select batting that
is a little wider and longer than the table topper.
I normally leave 1-2
inches all the way around.
If the batting you
have is not long enough or wide enough, zigzag two or more pieces together.


Backing needs to be a bit larger than the top too.

Next is to layer the
quilt sandwich.
Put the batting down
on a flat surface.
Try and center the
backing on top of the batting making sure it is right side up.
Center the top on the
backing facing down with the right sides together.

Pin all the way
around making sure the three layers are smooth.
I make sure to leave
a spot about a hands width open to be able to turn the table runner, I put a
double set of pins on each side of the opening.
This is to alert me
to NOT sew in-between the double pins.

Sew around, leaving an
area open to turn.


Trim around the top.
Make sure to trim the
corners diagonally.
Turn the table runner
right sides out.
Take a chopstick or
something pointy and poke the corners out to get them as sharp as possible.
Be careful not to
make a hole in the fabric.
Press while rolling
the edges to make them crisp.

Quilt as desired.
All I did was top
stitch a presser foot width from the red and around the outside edge, making
sure to close the open area where I turned it.
You have a finished
table topper that is easy and can be made with any fabrics for any season.


Zippered T-shirt Pillow tutorial
Supplies
T-shirt(s)
Stabilizer
Zipper that is slightly smaller than the width of the pillow
opening
Iron
Pressing sheet
Ruler
Rotary Cutter
Ruler
Rotary Cutter
Thread
Sewing Machine
Instructions
Find the T-shirts that you wish to make pillows from.
You will need a front and a back, so two pieces to work
with.
They can be one shirt or two for a double imaged pillow.


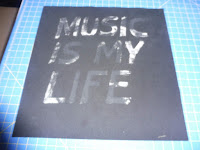
These happen to be two music shirts that DD loves.
You will need to cut the shirts apart to be able to
stabilize them.
I cut the sleeves off first.

I use the seams as a guide, or if there aren’t any seams, I will make sure the shirt is flat and cut on the fold.


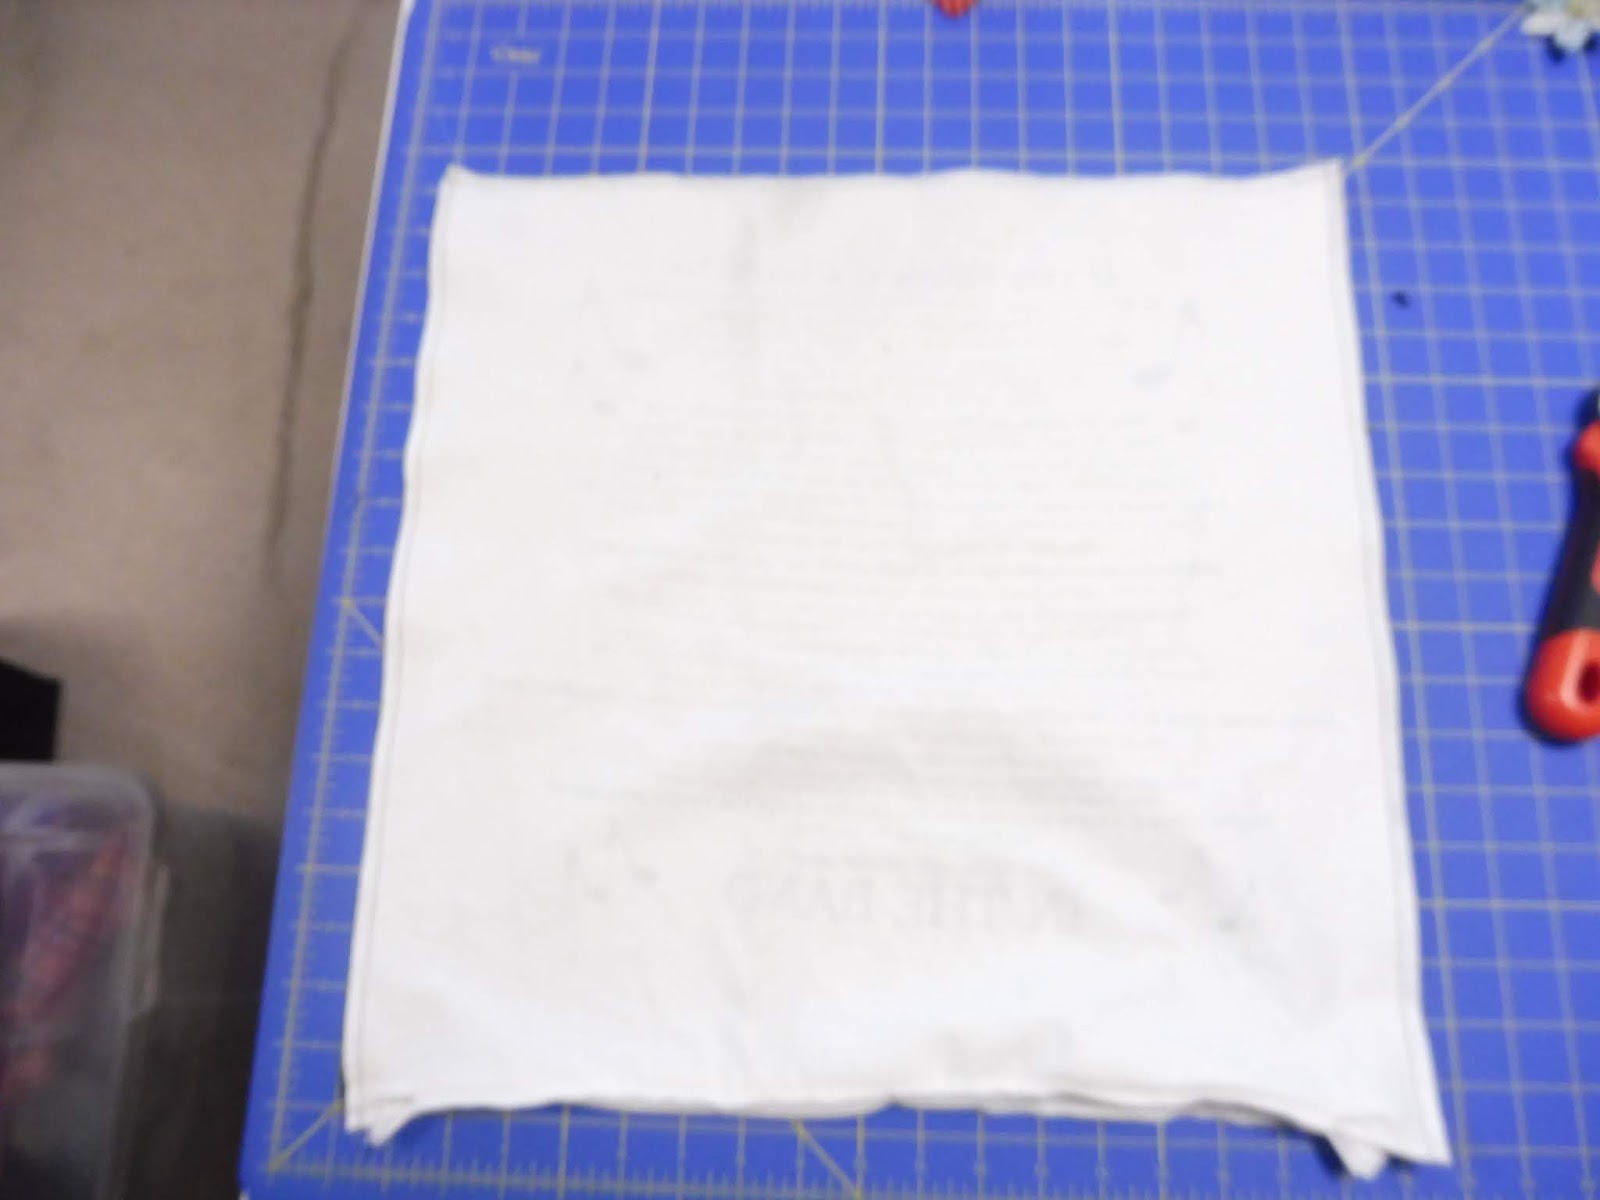
Your shirts are ready for the next step.


I like measure to see how large the area is for the design.
Cut your stabilizer a bit larger than the design level.

Lay your T-shirt design side down and press so it lays flat.
Make sure NOT to press the design side.
It will melt and mess up the design and your iron.
It will melt and mess up the design and your iron.

The little bumps on the stabilizer go towards the shirt.

If the stabilizer is bigger than the shirt and overhangs, use a pressing sheet under the stabilizer that is hanging over to stop from fusing to your pressing surface.

Determine the size you want the pillow to be.
You can cut the same size of the pillow form if you like the look of a full pillow.If you prefer a pillow that looks less stuffed, add one (1) inch around and cut that size out of both T-shirts you picked.


I'm using 18 inches for my 18 inch pillow form.

After cutting the size you want, if you notice there is a small section larger than 1/4" without T-shirt on the stabilizer, you need to add to cover the stabilizer.
I need to add some extra fabric to this shirt.
T-shirt fabric does not do well to sew like a normal seam when it is this small.

Use a Zig Zag Stitch to sew them together.


Trim like you did before to have the T-shirt cut to the right size.


Place one of your prepared pieces face up.


Next align your zipper face
down along the top of the T-shirt.


Pin or use wonder clips to keep in place.


Mine has a way for either side to be up against the zipper.
You need to figure out how your zipper foot works.


You will need to zip and unzip around the presser foot as you sew the zipper in.
*Note, these photos show sewing off the shirt, but you really need to stop at the edges of the zipper stops.


Please notice where I stopped sewing here.

Zipper sewn on one side (mine is the bottom).
To top stitch, you might need to change your thread to match the T-shirt material.
If you wish, you can top stitch in a contrasting color.

Turn the zipper so it is laying flat.
I found that this shirt was thin enough that I could finger press it to lay flat.
If that does not work, use a pressing sheet to press along the zipper being careful that your iron does not melt the zipper or the design on the shirt.
DO NOT IRON THE DESIGN
Notice that I moved the zipper foot to the other side to get closer to the zipper.

Top stitch along the zipper.

You will need to zip and unzip the zipper to be able to top stitch along the side of the zipper.


You will do the same thing with the second shirt, making sure to align them with the front.

Make sure you have the shirts oriented right.
The bottom of both shirts and together here.
Next align your zipper face down along the bottom of the T-shirt.

Pin or use wonder clips to keep in place.

Notice I had to change the side of the zipper foot to sew closer to the zipper.


Zip and unzip as required.


Change thread to match the shirt you are top stitching.


Move zipper foot

The zipper is installed.

Put on your quarter inch foot, or whatever you are choosing to use to sew the rest of the project.

Ooops, I just noticed that I need to finish the seam where the zipper is because it is not the full length of the pillow.
I had to unsew the zipper that is past the zipper stop.


You need pull that zipper tab into the seam allowance and be careful not to sew the metal zipper stop.


Open the zipper so you have a place to turn the pillow.
Fold the right sides together and pin or use the wonder clips to align the edges.
The zipper should be on one of the edges.

If you need to trim to even up the edges, now is the time to
do that.


I use a chop stick to help poke the corners out.


Insert your pillow form.

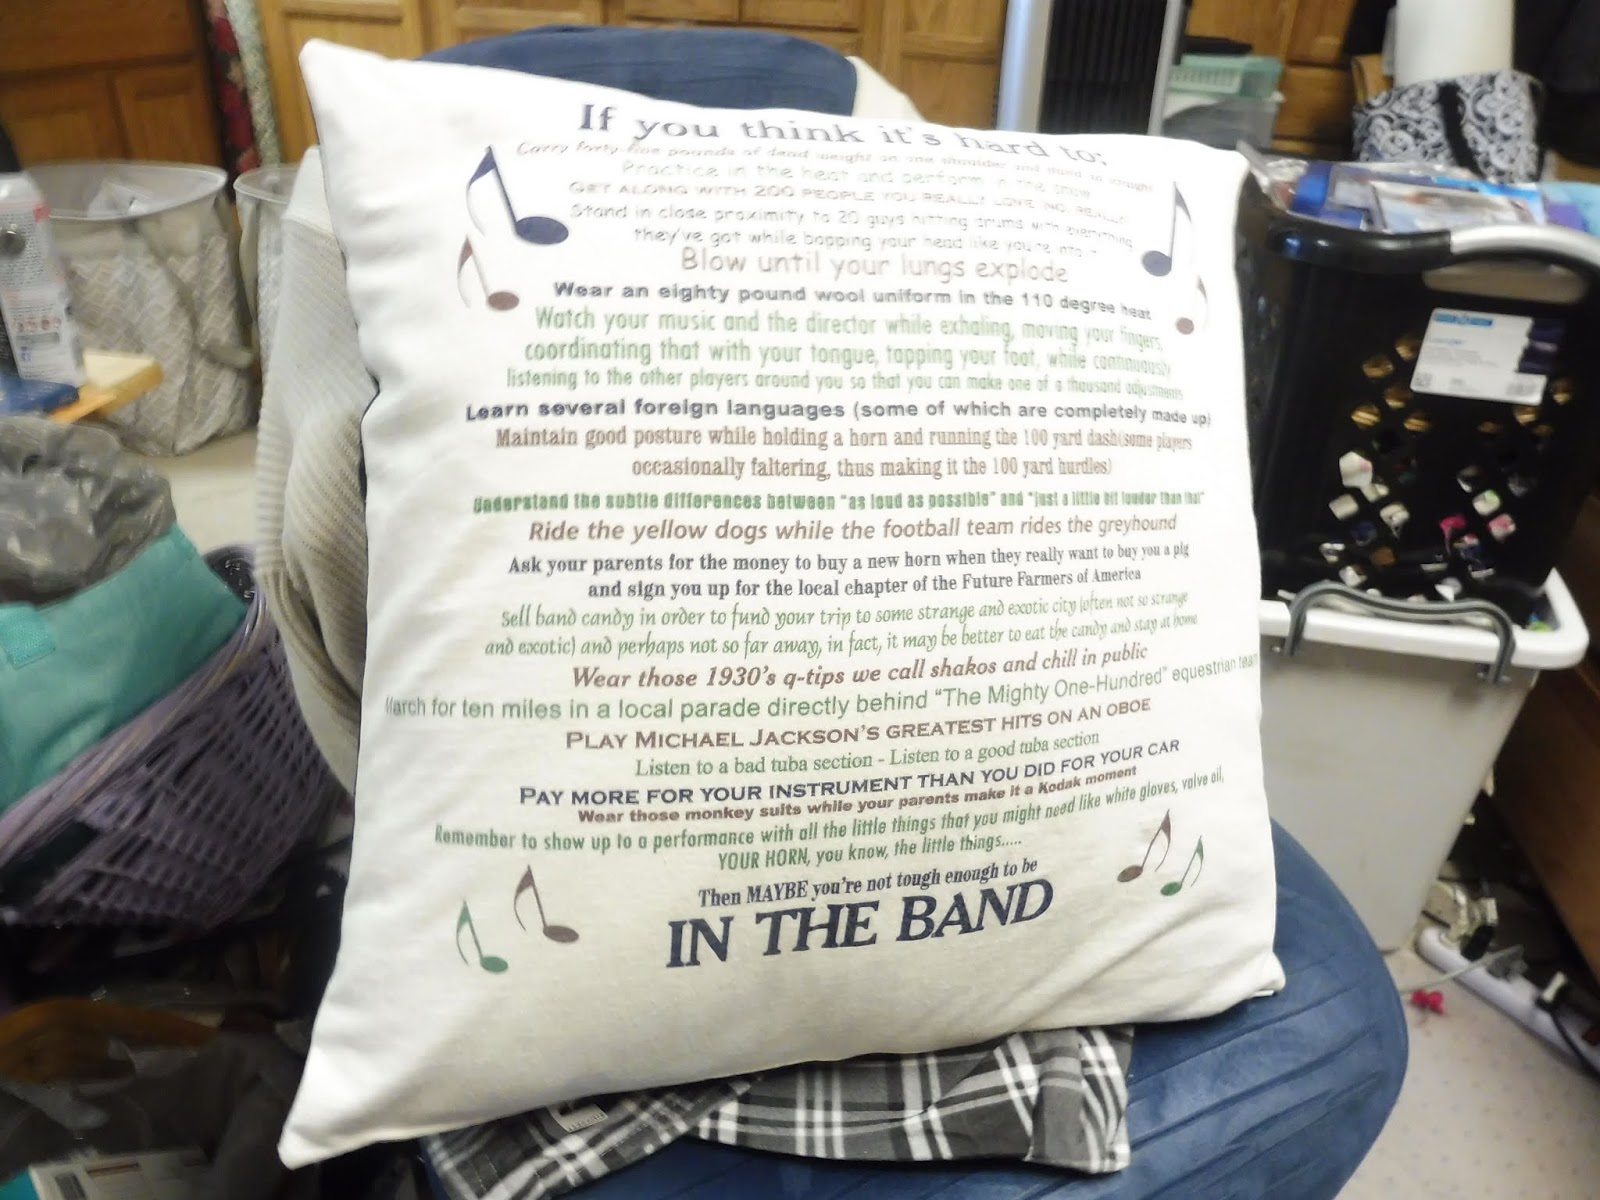

Zip the zipper and there is your double sided T-shirt pillow.
Here is the second pillow made from "wolf" t-shirts.

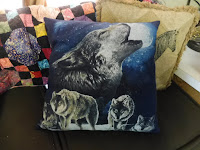
And the two together


Want to win a FQ bundle?Here is the second pillow made from "wolf" t-shirts.


And the two together


Enter by filling out the form and making sure to click on the blue submit button.
Thanks for visiting.
I hope you have fun with all the other 12 Days of Christmas in July blog posts.
31 comments:
I really like your ideas!! Thanks so much for sharing w us. Great to have a use for all those T shirts!
Love the pillows!! Making a horse one for Grangirlie..from a sweatshirt she loved..but too small. (Fun Surprise..) Thank you for your tutorial :)
Lots of ideas.
Those are great table runners! I love how they have a plaid look!
Thanks for the pillow tutorial. I just bought an Indians shirt that turned out to be too small. It will make a great pillow!
Love your pillows. Thanks for taking the time to work up the how to. great gift idea.
That was a great idea for your reunion of the table runners!
Those are two wonderful ideas. I might even try that zipper. I haven't put a zipper in anything in probably 40 years or more. =) Thank you for sharing.
Great tutorials, Meloney! I'm always up for a good zipper installation tutorial - I do them so seldom I always have to re-learn how to do it! Thanks for all your hard work for the hop!
The table runners are great - super pretty!
Great tutorials! Thanks for all of the ideas!
Thanks for your ideas. You always share ones that can be used anytime of the year. I appreciate that. Thanks.
Great ideas. The pictures make it easy to understand. Thanks. Janice.snell@gmail.com
Thanks for the great pillow tute. I love the zipper at the bottom and you made it seem so easy!
I love table runners for every season. Thanks for the tutorials.
Thanks for the great tutorial. I'm saving my husband's t-shirts and will make a quilt and pillow for him!
I've made plenty of T-shirt quilts, but never a pillow. What a great idea!
Thanks for the wonderful ideas and tutorials.
soooo pretty!
Great idea to make a t-shirt pillow! Thanks for the tutorial! xx
great projects. thank you and Merry Christmas 🎄🎅⛄
Hi Meloney! Wow, what a great post with LOTS of tips in it. Thank you so much for all the tutorials. I'll bet they were a big hit at your reunion. ~smile~ Roseanne
I have never seen a T-shirt pillow. I may have to try this one of these days.
I have a T shirt just waiting to be made into a pillow. Thank you for your great tutorial!
Great tutorials - thank you! I really love that cherry blossom fabric and will have to keep my eye out for some. Our #2 daughter-in-love is from Taiwan and has a special love for cherry blossoms.
Thanks for sharing such great ideas. These blog hops always get me so inspired to sew!
Thank you for sharing such great ideas and tutorials. Pillows are always fun to gift.
Thank you so much for sharing this great project and your instructions are awesome!
Neat pillow ideas- thank you for sharing.
Neat projects a wonderful idea to make an tees shirt as a memory pillow, Thanks!
Your table runners are so great, and the tutorial for the pillow case makes zippers not that intimidating. Thank you for sharing these wonderful ideas!
Post a Comment