I made some changes to it because of how I like to do things, but
the video is excellent to watch and see how to make a mask with a pocket for a
filter.
Please forgive the different fabrics being used in the photos. As
I was making the masks, I tried to take a photo of all the steps, but didn’t
get them all in one pass. These instructions are made for one mask. I think I
will be doing a number at a time because chain sewing them should make it
quicker.
1.
Cut fabric 15" x 7.5"

2. Cut 2.5” strip for bias. Prepare bias 9"
Note: I normally prepare the full width
of fabric at one time.
2a. Cut your strips in 2.5” width of fabric
2b. Press strip in half length-wise

2c. Open strip up and fold edges to meet in the center

2d.
Fold again so the folded edges are even. Press and clip or pin to hold in
place.


4. Cut 2 elastics at 9 3/4" each. Note: I found that some people like them to be about 11” for comfort.

I’ve seen it suggested to use hair ties. The ones I tried made the loops very tough for the ears. I would not suggest using hair ties for the elastic.
I just saw that someone found elastic headbands and cut them in half and they said they were perfect.
I've seen one that used shoelaces in hers (she was at COSTCO)
I just saw that someone found elastic headbands and cut them in half and they said they were perfect.
I've seen one that used shoelaces in hers (she was at COSTCO)
5. Serge or zigzag stitch the short edges


6. Fold right sides together--short edges
together

7. Mark 1.5" from sides to leave an opening
for filter gap

8. Sew edge to mark on both sides, leaving the center open.


9. Press open seam. Now you have a "tube"
with the opening in the middle of the seam.

10. Turn right side out


11. Topstitch along the seam on both sides


12. Measure 1/2 " from the seam line
13. Fold and press 1/4" down to make wire
tube. Stitch down and all around


14. Add the wire or pipe cleaner and stitch it
closed


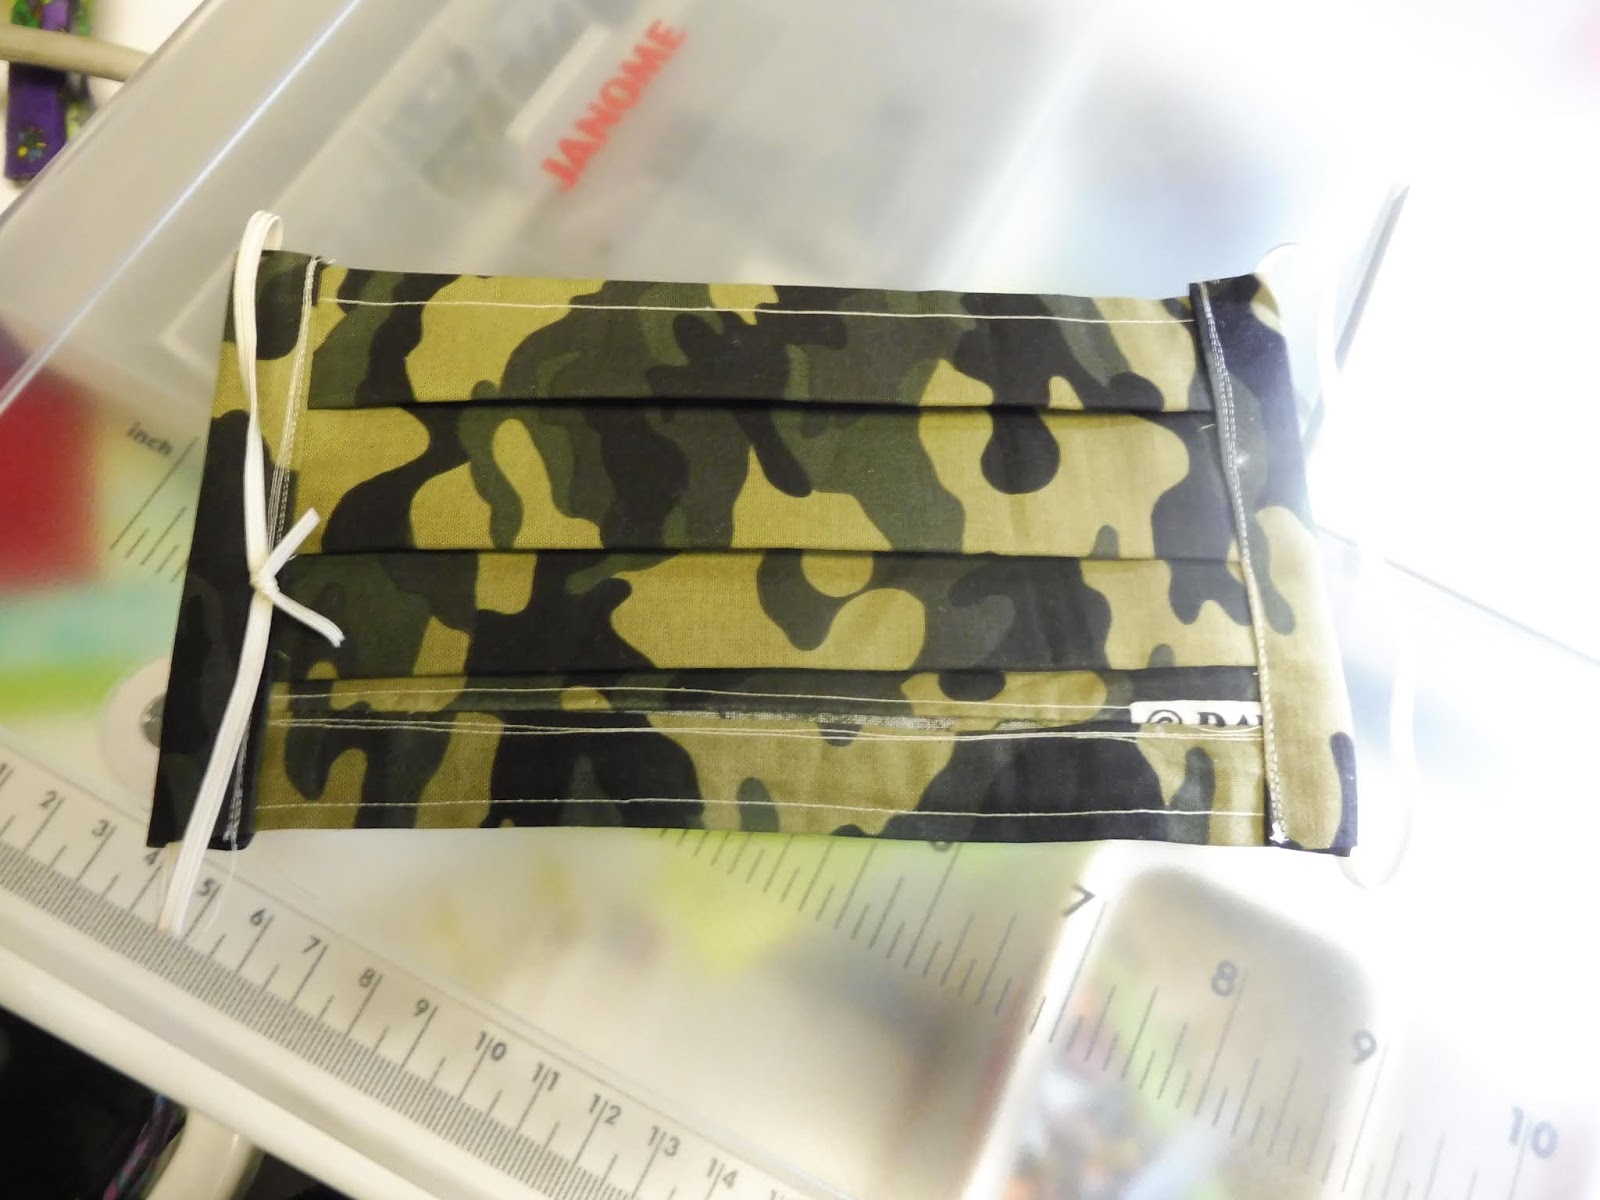
15a. Turn mask over so the pocket is at the bottom

15b. 1 ½” from the bottom (where the pipe cleaner is located) fold up ½”
15c. place fold on a line on the cutting mat and 1” from the fold, fold up ½” to make next pleat. Do this twice so you have three pleats in
the mask.

Your mask should measure approximately 4”
15d.
Press pleats in place

15e.
Sew less than ¼” seam on each side so pleats stay in place.

16. Make the casing for the elastic.
16a.
Fold the one end so there isn’t any raw edge to ravel.
16b.
Fold back the way you did in step 2.
17. I found it was easier to measure the mask
and determine the size of the casing before pinning.
17a.
Cut of ½” larger than the side of the mask

17b. Do the same thing you did before. Fold and align on the mask.
18. Placement of elastic. Note: I didn’t like threading the elastic through the casing, so I laid
it in at the time I sewed the casing.
18a. Place the casing you just made on one side of the mask. Align the side of the mask with the centerline of the casing.

18b. Place
the elastic right up against that centerline. Fold over and match to the side
on the bottom. Pin in place. Note: I like
the clips to hold the elastic and the casing in place.


18c. Stitch
the casing in place. I sewed the casing line twice to add some extra stability. Note: You do NOT want to sew on the
elastic!

18d. Do the same thing to the second side.
19. Tie elastic and pull the knot into the
channel.
20. Insert filter Note: Some people are using the furnace filters to cut and place
inside. I decided to try the coffee filter. The #4 needs to be trimmed down,
but the #2 seems to fit almost perfectly. These will provide a little more
protection.


These extenders look like they would be good to donate with the masks.
I'm sure health care providers have sore ears by the end of their shift.
I don't have instructions, but if I figure it out, I'll add it here.

What do you do if you run out of elastic and it is difficult to find?
What if the hospital wants ties instead of elastic?
I found a site that has 3 ways to make a DIY surgical facemask.
I, of course, modified it a bit.
I decided to use some of my bias tape, double fold and single fold (who knows how long it has been in my sewing stash.)
Note: if using the single fold, you will need to open and sew a scant 1/4" seam on the mask.
I don't suggest using this unless it is all you have.

I'm not sure if I'd go out and buy it because one package makes 1.5 mask ties.
1. Find the center of the bias tape and the center of the mask.
2. Open the bias tape to slide the mask edge snug into the bias tape.
3. Match the two centers and pin/clip in place.


4. Slightly unfold the bias tape at the end, fold under the end like we did with the casing and start stitching close to the edge.

5. Turn and stitch down the side, across the mask.

6. When you get to the other end, fold in the edge and stitch over it.

7. Check the backside of your stitching to make sure you caught all of the bias tape.
If you didn't, no worries, because you can stitch over it from the side you missed.

8. Next start on the mask at the edge. We are going to reinforce the bias tape stitching line.
Sew up from the inside of the mask to the outside edge of the bias tape.

9. Sew across the mask to the other side and stitch back down to the mask.
Backstitch as you wish and I went one more row of stitching in the center of the other two stitch lines.

10. Your finished mask with ties


This takes less time than the elastic.
It took me longer to write the instructions than to sew the bias tape onto the mask.
2 comments:
Hi Mel!
Thank you for posting this awesome tutorial. Our hospital here is needing and I am going to make some for them.
Be safe and healthy!
Amazing post! .I appreciate your hard work. Thank you for sharing. I have also shared some useful information about
Clear Shield Review on Ossward.org
Post a Comment